


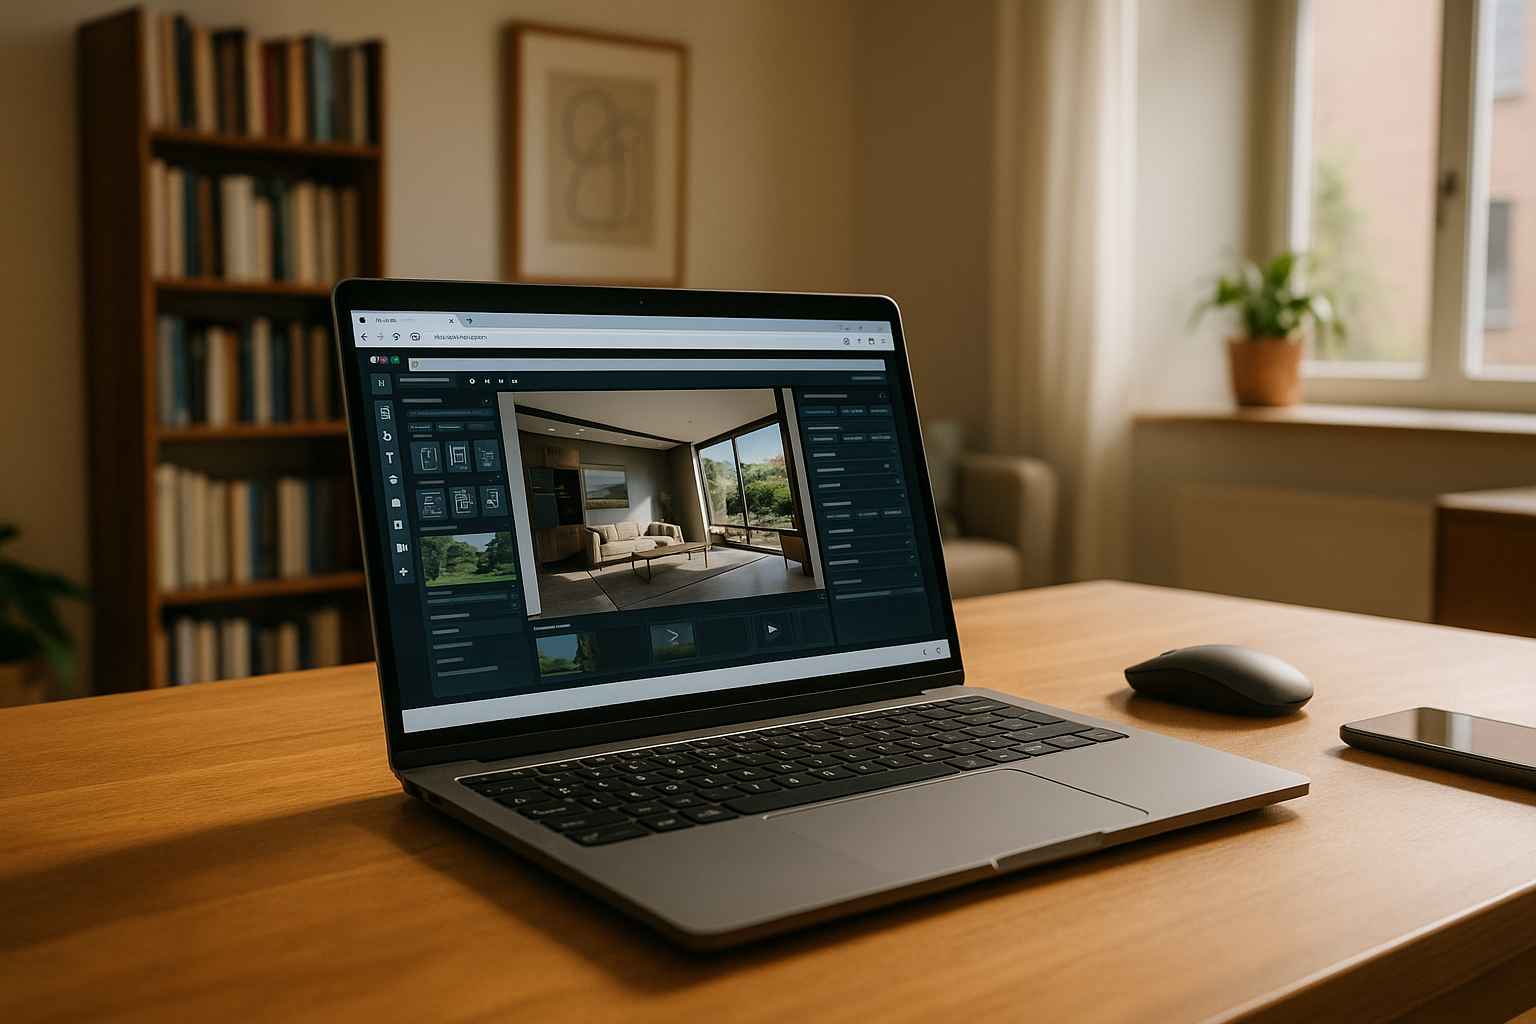
Lumion Performance Tips Start With Real Problems
Scenes that felt responsive yesterday may start lagging as models, vegetation, textures, and effects accumulate. Slow viewport navigation, long render times, and occasional crashes can disrupt architectural and landscape visualization work. Buying more powerful hardware is not the only way to improve performance. A more efficient workflow starts with optimizing scene complexity, adjusting render settings, managing project assets, and choosing a suitable environment for demanding workloads. These Lumion 3D best practices help reduce unnecessary resource use and make rendering workflows more predictable.
How to Optimize Lumion Scenes for Better Performance
Large Lumion scenes can become difficult to navigate as geometry, vegetation, textures, and objects accumulate. Review the scene regularly and remove complexity that does not contribute to the final result.
- Reduce model complexity. Use lower-detail models for distant objects and keep high-polygon geometry for key elements.
- Manage vegetation and entourage. Add trees, people, and decorative objects where they contribute to the composition rather than filling every area with detail.
- Organize objects into layers. Hide elements that are not needed while working on a specific part of the scene.
- Review textures and assets. Use appropriate texture resolutions and remove unused or duplicate objects.
These steps can improve viewport responsiveness and keep large projects easier to manage.
Best Lumion Render Settings for Different Projects
Render settings should match the project stage, output requirements, and scene complexity. Using maximum quality throughout the workflow can add unnecessary processing time.
- Use lower settings during development. Work with faster previews while adjusting composition, materials, and lighting.
- Increase quality for final output. Raise the relevant settings once the scene and camera views are ready.
- Test demanding effects separately. Check reflections, shadows, and other intensive effects before applying them across the entire project.
- Match resolution to the intended use. Render at the dimensions required for the final presentation rather than using maximum resolution for every preview.
A preview-to-final workflow helps reduce unnecessary rendering time while keeping the required output quality.
How to Improve Lighting, Materials, and Reflections in Lumion
Visual quality does not require every effect to be set to maximum. Focus on the elements that have the greatest impact on the final image.
- Build lighting deliberately. Use lights with a clear purpose instead of adding unnecessary sources.
- Refine materials first. Check texture scale, surface properties, and material assignments before adding more effects.
- Use reflections selectively. Prioritize glazing, water, polished surfaces, and other reflections that affect the composition.
- Review shadows and visual effects. Keep effects that improve the image and disable those with little visible benefit.
Render representative views after major adjustments to check whether the visual improvement justifies the additional processing demand.
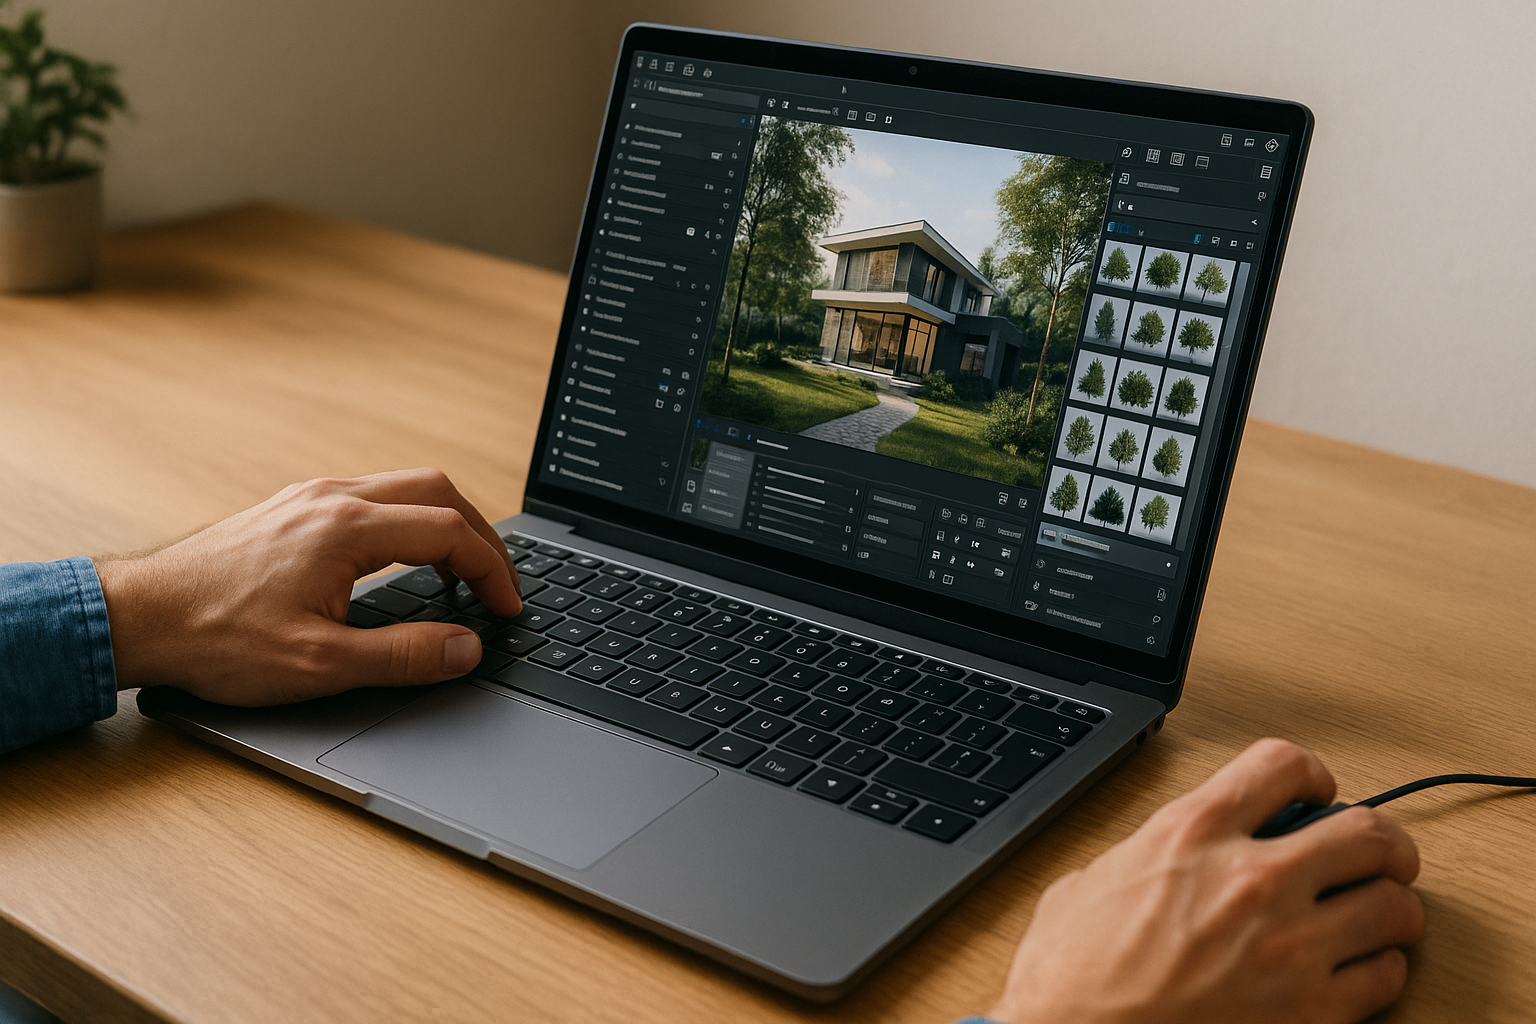
Keeping a Consistent Lumion Workflow Across Devices
Scene optimization helps reduce unnecessary workload, but demanding projects may still require suitable computing resources. When a local computer struggles with a particular workflow, a cloud-based Windows environment offers another way to access professional desktop software.
Founded in 2024, Aristeem provides access to a virtual Windows PC through a browser. Users can work with supported professional applications without installing a separate Windows environment on their local device. This can be useful when a project requires Windows software but the available computer cannot conveniently run a local Windows setup.
For Lumion workflows, the practical benefit depends on the available cloud configuration, application compatibility, graphics capabilities, and internet connection. A cloud environment does not automatically optimize scene geometry or guarantee shorter render times, so scene optimization and appropriate render settings remain important.
For those learning with Lumion, see our Lumion setup guidance for students and teams for practical tips on getting started.
Conclusion: Lumion 3D Best Practices for Reliable Results
When local hardware limits access to the required Windows software, a cloud environment such as Aristeem offers another way to work from a compatible device. Combining suitable computing resources with efficient scene management helps keep architectural visualization workflows more manageable without relying on maximum settings at every stage.


